For ready-meal producers, sauce manufacturers, and central kitchen chefs, vacuum packaging is the gold standard for extending shelf life and preserving flavor. But when you introduce liquids—soups, marinades, curry sauces, or braising juices—the process often turns into a frustrating mess.
The core problem is simple: During vacuum sealing, liquids are frequently sucked into the vacuum pump or boil over inside the chamber. This leads to failed seals, damaged equipment, product waste, and costly downtime.
However, learning how to vacuum-pack liquid sauce products efficiently is entirely possible—without the mess. In this guide, we’ll cover three proven methods to prevent liquid from being sucked out, including how to adjust your vacuum parameters, use the right equipment, and leverage simple pre-treatment techniques. Whether you run a small central kitchen or a high-volume sauce manufacturing line, these strategies will transform your liquid packaging workflow.
To solve the problem, you first need to understand why liquids behave unpredictably under a vacuum. The mechanics differ significantly between external and chamber vacuum sealers.
External vacuum sealers work by sucking air directly from the open end of the bag. When you attempt to seal a liquid product:
The vacuum pressure pulls liquid toward the seal bar.
Liquids are drawn into the vacuum channel, then into the hoses and the pump itself.
Once liquid enters the pump, it can cause corrosion, bacterial growth, and permanent motor failure.
For this reason, most manufacturers recommend against using external sealers for wet products unless the liquid is frozen solid.
Chamber machines are far better suited for packaging saucy ready meals, but they introduce a different problem: boiling under vacuum.
When you reduce the atmospheric pressure inside the chamber, the boiling point of water drops dramatically. At 100% vacuum, water boils at room temperature. This rapid boiling causes liquid to splash onto the sealing bar, creating wrinkles in the seal or preventing it from forming entirely.
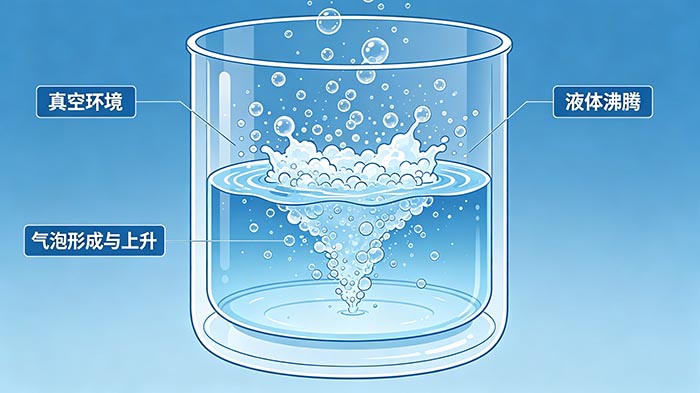
Additionally, aggressive vacuum speeds can cause foaming and overflow, contaminating the chamber and requiring extensive cleaning between cycles.
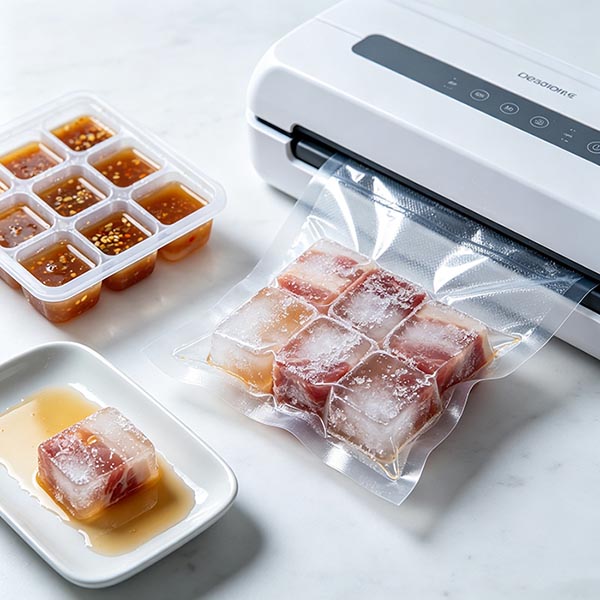
If you need maximum vacuum strength and absolute reliability, pre-freezing is the best method for vacuum sealing soups and marinades. By converting liquid into a solid block, you eliminate all movement and boiling issues.
Pour your liquid into ice cube trays or shallow pans.
Freeze until solid – typically 4–6 hours depending on volume.
Pop out the frozen blocks and place them into your vacuum bag.
Add solid ingredients around or on top of the frozen blocks.
Vacuum seal using your standard settings – no special adjustments needed.
For larger commercial batches, consider using silicone loaf pans or gastronorm trays to create standardized frozen slabs that fit perfectly into your bags.
High-value stocks and broths
Concentrated sauces
Brine solutions for marinating proteins
Stews and braised dishes, where the sauce is integral to the final product
Pre-freezing eliminates both liquid suction and chamber boiling. You can achieve 98%+ vacuum levels, which extends shelf life significantly. The only trade-off is the need for freezer space and additional handling time.
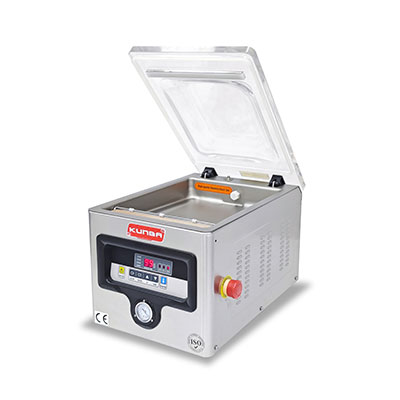
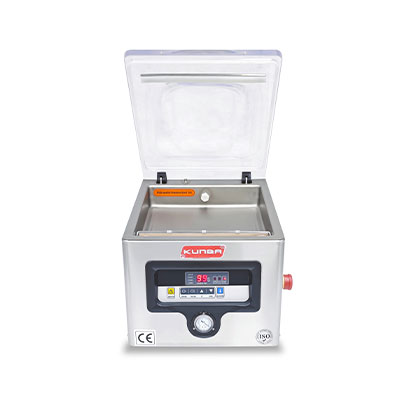
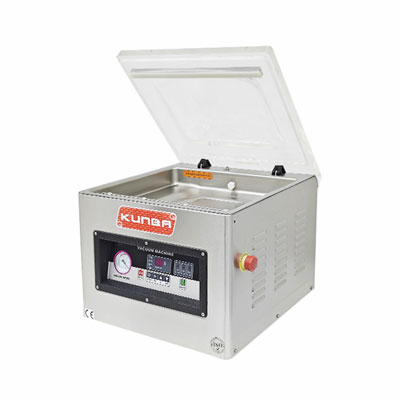
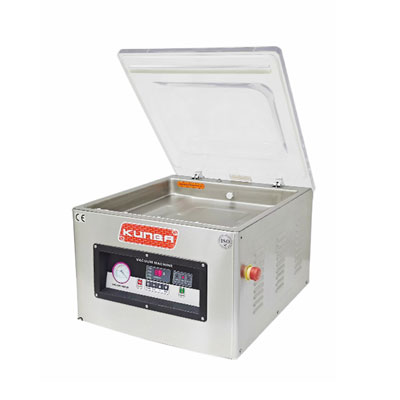
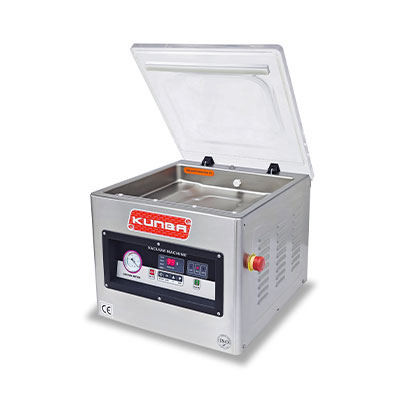
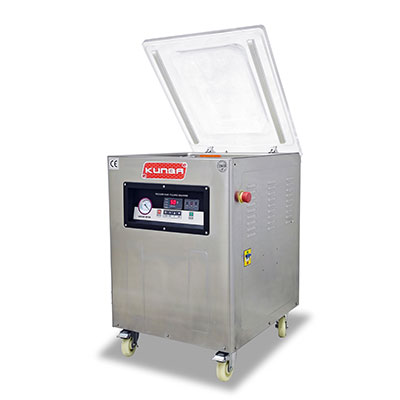
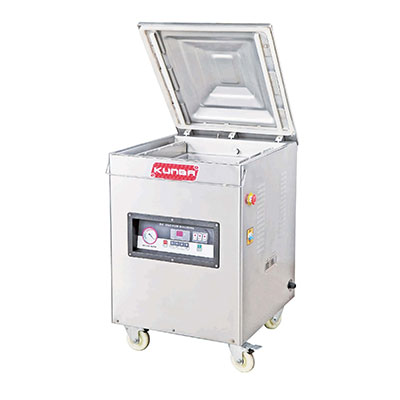
When pre-freezing isn’t practical, your chamber sealer for wet foods can be optimized to handle liquids directly. Most commercial chamber sealers offer adjustable parameters that, when set correctly, allow you to seal liquid products with minimal mess.
You do not need a 98–99% vacuum for liquid products. A vacuum level of 80–90% is usually sufficient for preservation while keeping boiling under control.
80% vacuum removes enough oxygen to inhibit aerobic bacteria and mold growth, giving you a safe refrigerated shelf life of 7–14 days.
90% vacuum balances oxygen removal with moderate boiling.
Set your machine accordingly. On most chamber sealers, this means selecting a lower “vacuum time” or adjusting a digital percentage setting.
High-end chamber sealers include a slow vacuum or soft start function. This gradually increases the vacuum pressure rather than applying full force immediately. The slower pressure drop gives liquids time to release dissolved gases slowly, reducing violent boiling and splashing.
If your machine lacks this feature, you can mimic it manually by stopping the vacuum cycle briefly after 2–3 seconds, then restarting.
This simple physical adjustment is highly effective:
Place a wedge or block under the rear feet of your chamber sealer.
The chamber now tilts backward slightly.
Load your bags so that the liquid pools toward the rear of the chamber.
The sealing bar remains at the front, which stays relatively dry during the vacuum cycle.
This technique works well for soups and thin sauces. Just ensure your machine is stable before operation.
Many commercial chamber sealers have an optional liquid trap tray – a removable pan that sits in the bottom of the chamber. If liquid boils or splashes, it lands in the tray rather than coating the heating bar or being sucked into the vacuum port.
If your machine doesn't have a dedicated tray, you can improvise with a shallow stainless steel baking sheet placed beneath the bag opening.
Sometimes the solution lies not in the machine settings, but in the packaging materials themselves. Several bag types and accessories are specifically designed for vacuum packing liquid sauce products without leaks.
Food-grade absorbent pads are placed inside the bag before sealing. They soak up excess liquid released from marinated proteins or defrosting seafood.
How to use: Place the pad directly under the product, against the bottom of the bag.
Effectiveness: Best for products with moderate liquid content. Not suitable for free-flowing soups.
Bonus: Pads often include anti-microbial layers to further extend shelf life.
For liquid-only products like sauces, soup bases, or marinades, consider switching to stand-up pouches with a spout. These are filled through the spout, sealed with a cap, and do not go through a traditional vacuum sealer at all. Instead, you use a spout-filling machine or a manual spout sealer.
While this represents a different packaging format, it completely bypasses the vacuum sealing challenges of liquids.
Standard vacuum bags range from 70–90 microns. For liquid products, upgrade to 120 microns or thicker. Benefits include:
Greater puncture resistance from frozen liquid edges.
A more rigid structure that resists “suck-back” when the vacuum is released.
Better heat transfer during sealing, producing stronger seals even if minor liquid contamination occurs.
Let’s apply these techniques to a real-world example: packaging saucy ready meals – say, butter chicken curry with rice and vegetables. This product has both solid components and a thin, flowing sauce.
Step 1: Portion the rice, vegetables, and protein into the vacuum bag. Ladle the sauce over the solids, ensuring you leave at least 2 inches of empty bag space above the fill line.
Step 2: Fold the open end of the bag upward by 1–2 inches and secure it with a bag clip. This prevents liquid from sloshing toward the seal area during loading.
Step 3: Place the bag inside the chamber sealer. If your machine allows, tilt the chamber by placing a 1-inch block under the rear feet so liquids flow away from the seal bar.
Step 4: Set your machine parameters:
Vacuum level: 85%
Vacuum speed: Slow
Seal time: 1.8 seconds
Step 5: Start the cycle. Observe through the chamber lid:
Mild bubbling is normal – you’ll see tiny bubbles rising like a carbonated drink.
Violent boiling or splashing toward the seal bar means your vacuum level is too high. Stop immediately and reduce the vacuum to 70–75%.
Step 6: Once the cycle completes, open the chamber and inspect the seal. A successful seal will be clear, flat, and free of wrinkles. If you see white spots or uneven texture, liquid was present on the seal bar – clean it and reduce fill volume or vacuum level.
Even with perfect technique, some liquid residue is inevitable. Regular cleaning prevents cross-contamination and equipment failure.
Wipe the chamber interior with a damp, sanitized cloth. Pay special attention to the seal bar and the silicone sealing pad.
Check the vacuum port. If liquid entered it, use a pipe cleaner or compressed air to clear it.
Remove and wash the drip tray if your machine has one.
Inspect the vacuum pump oil. For oil-lubricated chamber sealers, water vapor from boiled-off liquids will gradually contaminate the oil. When the oil turns milky white or opaque, it needs changing.
Run a dry cycle with an empty chamber to evaporate any residual moisture.
Replace the seal bar PTFE tape if it shows scorch marks or liquid residue buildup.
Check all hoses and fittings for signs of liquid ingress, especially on external sealers.
Technically, yes, but only if the soup is pre-frozen solid. For liquid or even semi-liquid soups, an external sealer will almost certainly suck liquid into the pump, causing damage that is often more expensive to repair than replacing the machine. For any non-frozen liquid, use a chamber sealer.
Vacuum sealing does not chemically alter liquids. However, if boiling occurs inside the chamber, you may lose volatile aromatic compounds that evaporate under reduced pressure. Pre-freezing or using lower vacuum levels preserves these delicate flavors. Texturally, vacuum-packed sauces may appear slightly denser due to degassing, but this is reversible by stirring after opening.
For a properly vacuum-sealed sauce:
Acidic sauces: 2–3 weeks
Low-acid sauces: 1–2 weeks
Stock or broth: 10–14 days
Always verify with your HACCP plan and conduct shelf-life testing for commercial products. Vacuum packaging is a preservation method, not a substitute for proper refrigeration or acidification.
How to vacuum-pack liquid sauce products without a mess comes down to three proven strategies:
Pre-freeze the liquid – the most reliable method, achieving 98% vacuum with zero boiling or suction.
Optimize your chamber sealer – lower vacuum levels, enable slow vacuum, tilt the chamber, and use liquid trap trays.
Use specialized consumables – absorbent pads, stand-up spout pouches, or thicker bags to minimize liquid migration.
For commercial kitchens and sauce manufacturers, the investment in a quality chamber sealer for wet foods pays for itself through reduced waste, extended shelf life, and faster throughput. Start by implementing the low-vacuum technique with your existing equipment, then add pre-freezing for problem products like thin broths or highly aromatic sauces.
With the methods above, you can confidently vacuum seal soups, marinades, curry sauces, and braising liquids – no mess, no wasted product, and no damaged equipment.
Note: The images in this article are for reference only.

GET A QUOTE