You’ve just vacuum-sealed a batch of expensive steaks. You come back an hour later, and half the bags have lost their seal. When you inspect the sealing bar, you see it: melted holes, burn marks, or partial tears right where the bag was supposed to close.
Bag burn is the number one cause of vacuum seal failures in food processing and packaging lines. It wastes product, slows down throughput, and frustrates operators.
The good news? Over 99% of bag burn issues can be solved by systematically adjusting just a few parameters. This guide walks you through exactly how to prevent vacuum packaging machine bag burn—by identifying the burn type, fine-tuning time/temperature, adjusting pressure, selecting the right bag thickness, and using cooling cycles. No guesswork. No random knob-turning.
Before you adjust anything, look closely at the failed seal. The location and shape of the burn tell you exactly which parameter is wrong.
Type A – Melted hole in the center of the seal line
Appearance: A thin, melted line or complete perforation exactly where the heating bar contacted the bag.
Cause: Sealing time is too long, or sealing temperature is too high. The heat penetrates fully through both bag layers and melts them.
Typical scenario: Running thick bags with the same settings as thin bags, or using an old machine with a stuck timer.
Type B – Melted edges
Appearance: The seal looks uneven; the outer boundaries of the seal are charred or melted, while the middle is sealed but not burned.
Cause: Excessive sealing pressure. High pressure flattens the bag material too much, making it thinner at the edges, which then overheats. Also happens if the bag is wrinkled during sealing.
Typical scenario: Over-tightening the clamp on a semi-automatic machine, or uneven bag placement.
Type C – Melted area outside the seal line
Appearance: Melt spots, scorch marks, or holes 2–5 mm away from the actual seal.
Cause: The bag touched a hot part other than the sealing bar—for example, a bare heating wire, a damaged Teflon cover, or a misaligned hot bar.
Typical scenario: Worn Teflon tape or a bent sealing frame.
Once you know the burn type, you know which knob to turn. Let’s go step by step.

Sealing time is the most common control on vacuum packaging machines. It determines how long the heating bar stays energized.
The principle: Use the shortest time that still creates a full-strength seal. Longer times only increase the risk of bagmelt-through on the sealer without improving seal quality.
Start low. Set your sealing time to 1.0 seconds (or the lowest setting on your machine).
Make a test seal with a scrap bag (same material and thickness you plan to use).
Increase in small steps. Add 0.2 seconds and seal another bag.
Test seal strength after each step:
Let the bag cool for 10 seconds.
Try to pull the seal apart with your fingers.
If it separates easily → too short.
If you cannot tear it apart even with force → seal is strong.
The moment the seal becomes untearable, note that time. Then reduce by 0.2 seconds. That 0.2-second-shorter value is your optimal sealing time.
Example:
1.0 sec → easily torn
1.2 sec → still separates
1.4 sec → holds but slightly thin seal
1.6 sec → strong seal, no burn → optimal = 1.4 sec
Pro tip: Write the optimal time on a label and stick it on the machine. Different products (dry vs. juicy) may need different times.
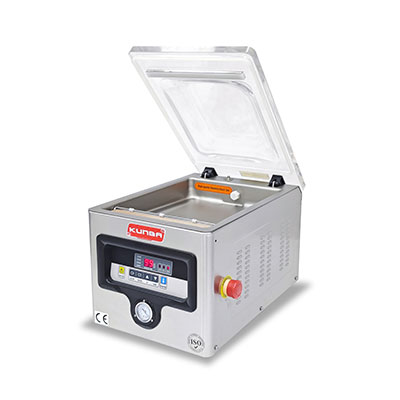
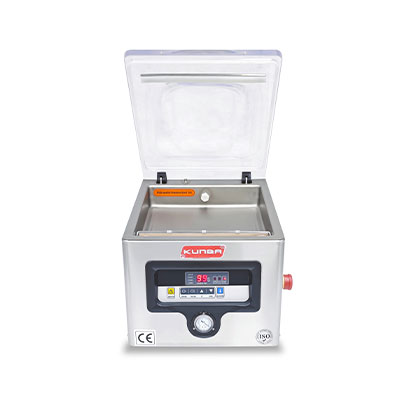
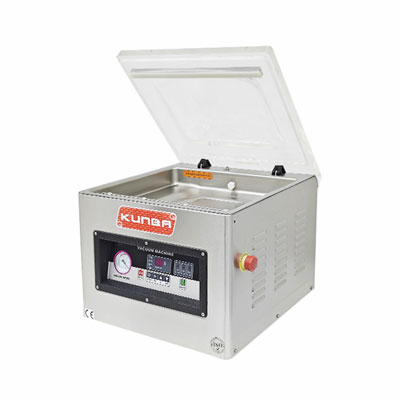
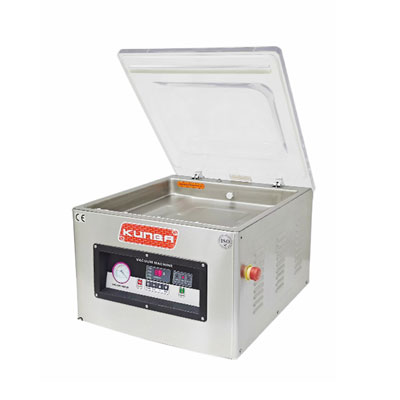
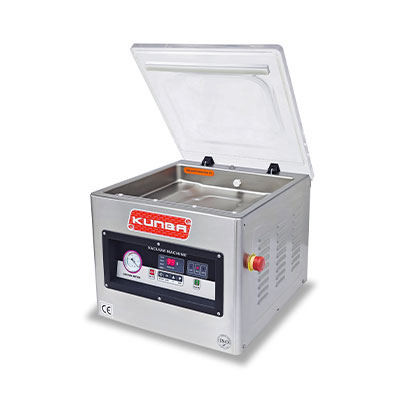
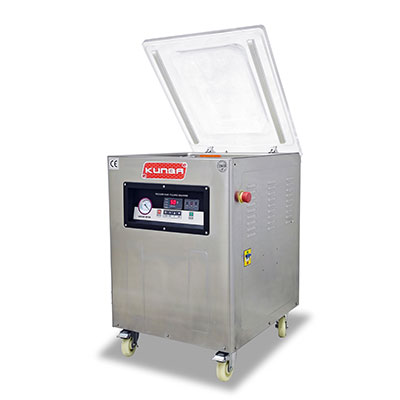
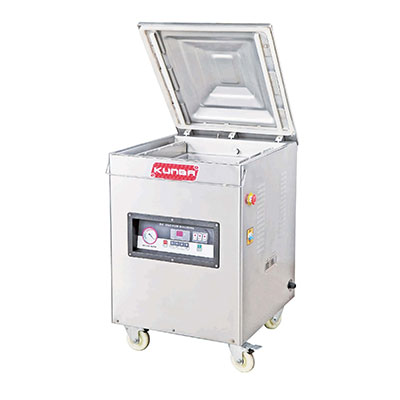
Many basic vacuum packers only have a sealing time dial. But mid-range and industrial machines (including many KUNBA models) offer independent sealing temperature control.
When both time and temperature are adjustable, you have more flexibility to prevent bag burn while keeping cycle times short.
Why is this useful? Lower temperature + slightly longer time = deeper, more uniform heat penetration without surface melting. This is especially helpful for multi-layer bags (nylon/PE co-extruded).
Start with the manufacturer’s recommended temperature (often around 140–160°C for standard PE bags).
If you see Type A burns (center hole), lower the temperature by 10°C.
Increase sealing time by 0.3 seconds to compensate.
Test seal strength again.
Repeat until burn disappears and seals hold.
When to avoid temperature reduction: If your machine’s temperature control is inaccurate (±10°C or more), stick to adjusting sealing time only. Wrong temperature readings can make matters worse.
Pressure is the hidden culprit behind many bag burns. Too much pressure crushes the bag material, forcing melted plastic outward and creating thin, weak edges that burn easily.
Seal line width is more than 6 mm (the normal target is 3–5 mm)
You can see dent marks or impressions of the heating wire on the bag
Type B burns (edges melted, center intact)
For semi-automatic (chamber) machines with locking handles:
Loosen the locking handle or clamp screw by ¼ to ½ turn.
Make a test seal.
The goal is to have the bag lightly pressed against the sealing bar, not crushed. The seal should be flat, not ridged.
For fully automatic or industrial machines with pneumatic pressure:
Locate the pressure regulator valve (usually a knob with a pressure gauge).
Reduce pressure in small steps of 0.5–1 bar (7–15 psi).
Minimum effective pressure is when the bag layers are in full contact, but the seal line width stays under 5 mm.
A simple test: Seal a dry paper towel inside a bag. After sealing, look at the towel. If it shows compressed, shiny marks where the bar was, your pressure is too high.
Sometimes the problem isn’t your machine settings—it’s the bag itself. Thin, low-quality bags have very little tolerance for heat. Switching to a thicker bag or a different material instantly reduces bag burn risk.
| Product Type | Recommended Thickness | Heat / Burn Resistance |
|---|---|---|
| Dry, lightweight (rice, flour, nuts) | 70 µm | Low – use minimal sealing time |
| Juicy or moist (meat, fish, sauces) | 90 µm | Medium – more forgiving |
| Sharp bones, hard objects (ribs, tools) | 120 µm | High – requires extra heat, but resists burn |
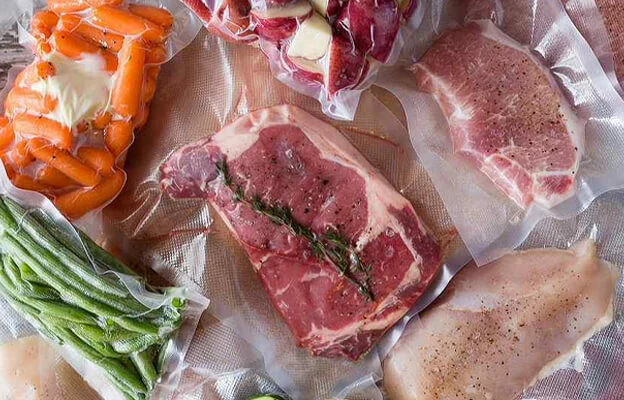
Standard PE (polyethylene) bags are cheap but melt easily. They are best for dry, non-sharp items and short-term storage.
Nylon/PE co-extruded bags (often called "nylon vacuum bags"): Nylon has a much higher melting point (220°C vs. 120°C for PE). These bags resist burn even when your sealer runs slightly hot. They also provide a better oxygen barrier.
If you constantly fight bag melt-through on the sealer, invest in 90 µm or 120 µm nylon co-extruded bags. The extra cost is negligible compared to wasted product and machine downtime.
Heat doesn’t stop working the moment the sealing bar switches off. The bag layers remain molten for 1–2 seconds. If you open the chamber or release the clamp immediately, the seal can stretch, thin out, and sometimes tear.
A cooling cycle holds the bag under pressure after the heating stops, allowing the plastic to solidify while still compressed. This eliminates post-seal thinning—a hidden cause of burn-like failures.
Enable cooling cycle and set to 1.5 to 3.0 seconds, depending on bag thickness.
Thicker bags need longer cooling (e.g., 120 µm → 2.5 sec cooling).
The cooling bar or piston remains closed without heating.
Manual delay: After the seal cycle ends, wait 1–2 seconds before opening the chamber or releasing the clamp.
Train operators to count “one thousand one, one thousand two” before lifting.
This simple habit reduces Type A and Type B burns by over 50%.
Pro tip: If your machine has a separate “cooling time” dial, set it to 2× your sealing time as a starting point.
Even perfectly tuned settings can fail if machine components are worn or dirty. Add this 2-minute checklist to your shift startup routine.
| Item | What to check | Action if faulty |
|---|---|---|
| Teflon tape (heat-seal cover) | Any scorch marks, peeling edges, or holes? Broken tape causes localized overheating → spot burns. | Replace immediately. Teflon tape is a consumable; change every 2–3 months for heavy use. |
| Silicone pad (or rubber backup) | Is it flat and elastic? Dents or hard spots cause uneven pressure → edge burns. | Rotate or replace. A worn silicone pad costs little but ruins many bags. |
| Sealing bar residue | Melted plastic, food debris, or adhesive stuck to the bar? Residue acts as a heat concentrator. | Clean with a brass brush (steel wool can damage the bar). Use no solvents. |
| Bag loading flatness | Are bags wrinkled or folded at the seal area? Wrinkles create pressure points → localized burns. | Train operators to lay bags flat. Use bag loading guides if available. |
A: Yes and no. Foil-lined bags (aluminum/PE laminates) reflect radiant heat, so they reduce burn risk from external heat sources. However, they still rely on the PE layer to seal. If your sealing time or pressure is too high, the PE layer can melt and flow away, leaving a weak seal. Foil bags help,p but don’t replace correct settings. They are also more expensive and not suitable for microwave reheating.
A: Most often because the silicone pad on one side is damaged or the heating bar is unevenly worn.
Check the side that shows burn marks. Is the Teflon tape torn?
Measure the sealing bar temperature on the left, center, and right using a thermocouple. A difference of more than 10°C across the bar indicates a failing heating element.
Also possible: operators placing the bag off-center so one edge extends beyond the Teflon cover.
A: Indirectly, yes. Melted plastic particles from a burning bag can be pulled into the vacuum chamber and even into the pump inlet filter. Over time, fine plastic dust clogs filters and reduces pump oil life. If you see smoke or a charred smell during sealing, stop immediately. That bag is releasing particles. Clean the chamber before continuing.
Bag burn is not a mystery, and it’s not inevitable. In almost every case, it comes down to one of six factors: excessive sealing time, too high temperature, excessive pressure, thin or poor-quality bag material, missing cooling, or a worn component.
By following this systematic approach:
Identify the burn pattern (center, edge, or off-seal).
Adjust the sealing time to the shortest effective value.
Reduce the temperature if your machine allows, compensating with a slightly longer time.
Lower pressure until the seal width is under 5 mm.
Upgrade bag thickness/material – go 90 µm or nylon co-extruded.
Use cooling automatically or manually.
You will solve 99% of bag melt-through issues. Your seals will be clean, strong, and consistent—shift after shift.
Your next step:
If your current vacuum packer lacks independent temperature control or a cooling timer, consider upgrading to a controller that gives you precision adjustments. KUNBA offers high-end controllers and complete vacuum packaging systems with digital time, temperature, and cooling management. No more guesswork. No more melted holes.

GET A QUOTE