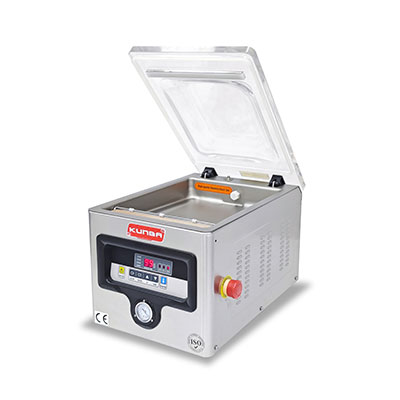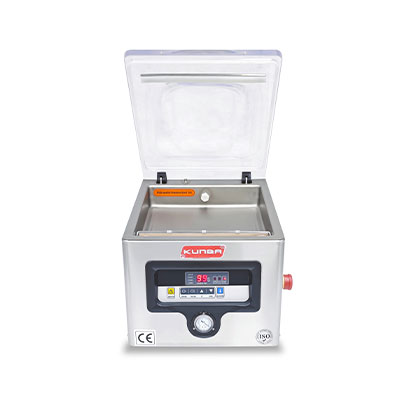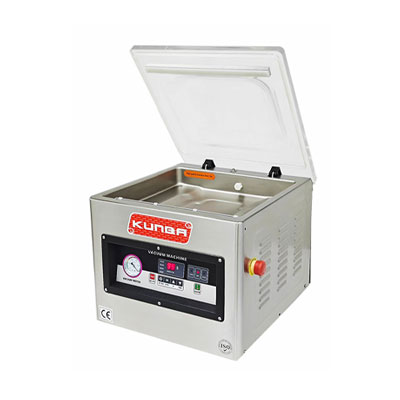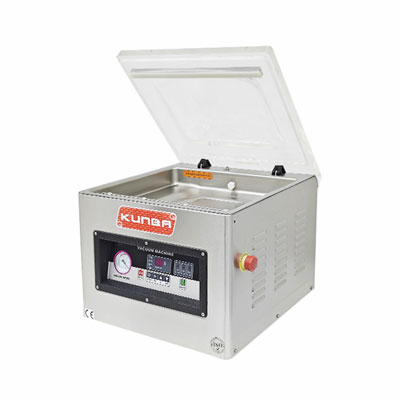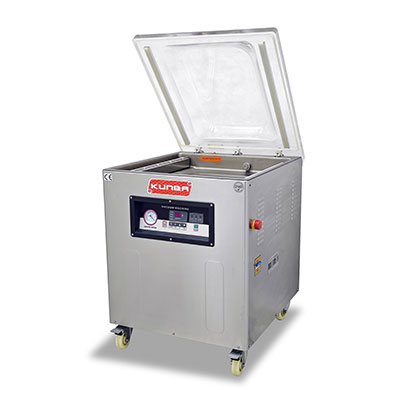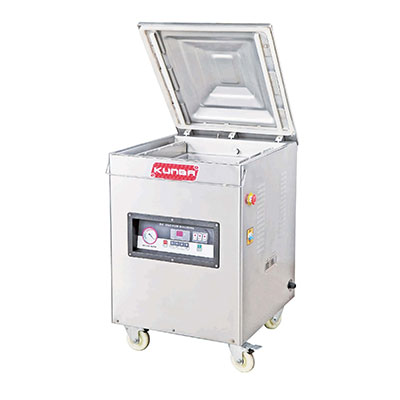
Nothing is more frustrating than pulling a bag out of your vacuum packing machine only to find a seal line that’s wide on one side and barely visible—or completely missing—on the other. Uneven sealing compromises package integrity, leading to leaks, spoiled products, and wasted time. If you’re seeing inconsistent seal line width, one side sealed while the other remains open, or wavy seal patterns, you’re not alone. This problem affects both small chamber vacuum sealers and larger industrial units. For businesses looking for reliable, long-lasting equipment, exploring industrial‑grade vacuum packing solutions can prevent many of these issues from the start.
The good news: most causes of uneven sealing are easy to diagnose and fix. In this guide, we’ll walk through five common reasons—from simple operator habits to worn components—and provide step-by-step solutions. Plus, we’ll share a simple diagnostic test that pinpoints pressure problems in seconds. By the end, you’ll have your machine producing perfect, uniform seals every time.
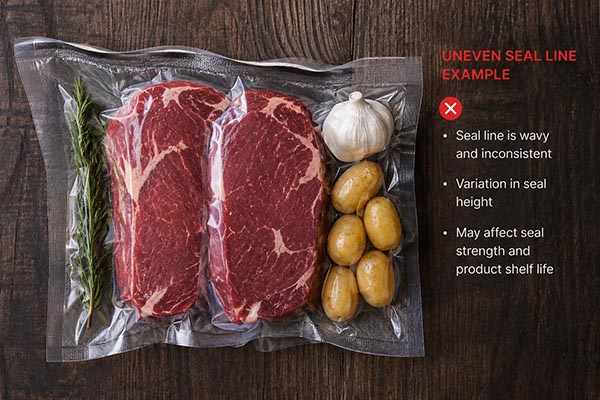
Symptoms: The side of the bag closest to the handle seals perfectly, but the opposite side is weak or open. This is especially common on manual chamber vacuum sealers, where the operator presses the lid down by hand.
Why it happens: On semi-automatic machines without pneumatic or mechanical clamping, the operator’s hand force concentrates near the handle. Over time, or with inconsistent pressure, the lid doesn’t clamp evenly across the entire sealing bar. The result is a pressure gradient—high near the handle, low elsewhere—causing a seal line that varies in width or doesn’t form at all on the low-pressure side.
The fix:
Adjust the locking mechanism: Many manual vacuum sealers have adjustable latches or cam locks. Tighten or shim the latch on the low-pressure side to balance the load. Check your machine’s manual for specific adjustment points.
Apply two-handed pressure: For machines without latches, train operators to press firmly with both hands—one on each side of the lid—to distribute force more evenly.
Upgrade to a pneumatic lid: If uneven sealing is chronic and you run high-volume production, consider retrofitting your machine with pneumatic cylinder-assisted lid closure. This delivers consistent, repeatable pressure across the entire sealing surface. Many aftermarket kits are available for popular chamber sealer models.
Pro tip: After any adjustment, run a test seal with a scrap bag and measure the seal width at three points using a caliper. They should be within ±0.5 mm of each other.
Symptoms: The seal line shows a “wavy” or irregular pattern—thick in some spots, thin in others. You might also notice a dark indentation groove running the length of the pad.
Why it happens: The silicone pad sits opposite the heating bar. When the lid closes, the pad presses the bag against the hot seal bar. Over hundreds or thousands of cycles, the pad develops a permanent compression groove where the seal bar contacts it. Once grooved, the pad no longer provides uniform back-pressure. Some areas compress more, others less.
The fix:
Flip the pad: Most silicone pads are double-sided. Unscrew or unclip the pad holder, flip the pad to the unused side, and reinstall. This gives you a fresh, ungrooved surface instantly.
Replace the pad: If both sides are worn, or your pad is a single-sided type, install a new silicone pad. Genuine OEM pads are best, but high-quality aftermarket pads work as long as they match your machine’s dimensions. You can find compatible replacement pads and sealing components here.
Check pad hardness: Over time, silicone hardens from heat exposure. A hardened pad loses elasticity and won’t conform to minor unevenness. If the pad feels stiff or brittle, replace it regardless of visible grooves.
When to replace: For moderate use, flip the pad every 3–6 months and replace annually. For heavy use, inspect monthly and replace every 2–3 months.
Symptoms: The seal line appears off-center on the bag, or the bag seals perfectly on one end but not at the other. In extreme cases, the seal bar misses the silicone pad entirely on one side.
Why it happens: The heating bar is held in place by screws or brackets. Vibration from repeated cycling, thermal expansion, or accidental impact can loosen these fasteners, allowing the bar to shift out of parallel alignment with the silicone pad. Even a 1–2 mm misalignment causes uneven pressure distribution.
The fix:
Unplug the machine and allow the seal bar to cool completely.
Remove any Teflon cover tape or protective film to expose the bar.
Loosen the mounting screws on both ends of the seal bar just enough to allow movement.
Place a straightedge across the silicone pad. Adjust the seal bar until it sits perfectly parallel—the gap between bar and pad should be uniform along the entire length.
Tighten the screws progressively: snug one end slightly, then the other, checking alignment after each turn.
Reinstall the Teflon tape and run a test seal.
Visual check: With the lid open, lower the seal bar manually or close the lid without a bag. Look from the side—the bar should contact the silicone pad simultaneously along its entire length. If one end touches first, you still have misalignment.
Symptoms: Small pits, black spots, or burned marks appear on the seal line. The seal may be perfect except for tiny gaps where the bag isn’t fused.
Why it happens: Food particles, grease, or moisture get trapped between the bag and the sealing surfaces. When the seal bar heats up, these contaminants burn, creating carbon deposits that lift the bag away from the bar. The result is a pinpoint leak site.
The fix:
Clean the Teflon tape with isopropyl alcohol and a lint-free wipe. Scrub gently to remove baked-on residue.
Clean the silicone pad the same way. Pay special attention to the groove area.
Inspect both surfaces for cuts, tears, or burned-through spots. Replace the Teflon tape if it’s damaged—it’s a consumable part.
Prevent future debris by ensuring bags are not overfilled. Leave at least 2–3 inches of clean, dry bag material above the product. Wipe bag exteriors before sealing if they’ve been handled with greasy hands.
How often to clean: At a minimum, wipe sealing surfaces at the end of each shift. For wet or oily products, clean every 1–2 hours of runtime.
Symptoms: The seal fails only at certain locations along the line—typically at bag creases or where the bag folds over itself. The rest of the seal looks fine.
Why it happens: Vacuum bags come in different thicknesses. If you use a bag that’s too large for the product, the excess material wrinkles when the lid closes. Those wrinkles create multiple layers that the seal bar must melt through, but the pressure and heat are calibrated for a single double-layer seam. Alternatively, if the bag itself has manufacturing defects—varying thickness across its width—the thin sections seal well while thicker sections remain unsealed.
The fix:
Use the correct bag size. The bag should fit snugly around the product with no more than 1–2 cm of extra material on each side. Oversized bags are the #1 cause of wrinkle-related seal failures.
Pre-flatten the bag opening before placing it in the chamber. Smooth out any folds or creases with your fingers.
Check bag quality. Cheap or recycled bags often have an inconsistent gauge. Stick with reputable brands that specify thickness tolerance (e.g., ±0.2 mil).
Consider a wider seal bar if you frequently seal bulky, irregular products. A 10 mm or 12 mm wide bar is more forgiving of minor wrinkles than a 5 mm bar.
Test: Take a suspect bag and cut a 2-inch strip from the open end. Measure thickness at three points with a micrometer. Variance greater than 0.5 mil can cause sealing issues.
When you’ve tried the obvious fixes but the problem persists, use this simple test to visualize pressure distribution. It works on any chamber vacuum sealer.
What you need:
One sheet of carbon paper
One plain white sheet of paper
Scissors
Procedure:
Cut the carbon paper and white paper to match your seal bar length.
Place the carbon paper on top of the silicone pad, carbon side up.
Place the white paper on top of the carbon paper.
Close the lid and apply normal sealing pressure.
Open the lid and carefully remove the white paper.
Reading the results:
The carbon transfers to the white paper wherever pressure is applied. An even, continuous black line means your pressure distribution is good.
Uneven or patchy transfer confirms a pressure problem. The pattern tells you where to look:
Fading toward one end → misaligned seal bar or worn pad.
Dots or gaps → debris on sealing surfaces.
Light, wavy line → grooved silicone pad.
This test isolates pressure issues from heat or timing problems. If the carbon imprint is perfect but your seals are still uneven, the culprit is likely a faulty heating element or temperature controller—not mechanical pressure.
If you’ve worked through all five causes and the carbon paper test still shows uneven pressure, you may be facing a less common—but more serious—issue:
Frame or lid warpage: Years of heavy use or accidental impact can bend the machine’s lid or base frame. This is rare on quality machines, but possible. A technician can measure flatness with a dial indicator and, if necessary, machine the mounting surfaces flat again.
Worn lid hinges: Slop in the hinge pins allows the lid to settle at an angle. Replace hinge bushings or pins.
Damaged seal bar mounts: Cracked or deformed brackets that hold the heating bar. These require replacement parts.
Rule of thumb: If your machine is less than two years old and exhibits these symptoms, contact the manufacturer under warranty. If it’s older, weigh repair cost against replacement. A new silicone pad or Teflon tape costs 10–50; a professional frame straightening might cost 100–50; a professional frame straightening might cost 300–500.
No, not if the root cause is uneven pressure. Increasing seal time only makes the hot bar dwell longer. Areas with good pressure may over-seal, while low-pressure areas still won’t seal properly because heat transfer requires mechanical contact. Always fix pressure issues first; then adjust seal time to optimize strength.
It depends on usage. For a small business running 100–200 cycles/day, flip the pad every 3 months and replace every 6–9 months. For high-volume production, inspect weekly and replace every 2–3 months. Replace immediately if you see a permanent groove deeper than 1 mm or if the pad feels hard and glossy.
Absolutely. Bags with inconsistent thickness, excessive stiffness, or poor-quality sealing layers can cause uneven results even on a well-adjusted machine. Use smooth, flat bags from a reputable supplier. Avoid “recycled” or bargain-brand bags—they often have wrinkled or contaminated seal zones from manufacturing. For best results, match the bag material to your product.
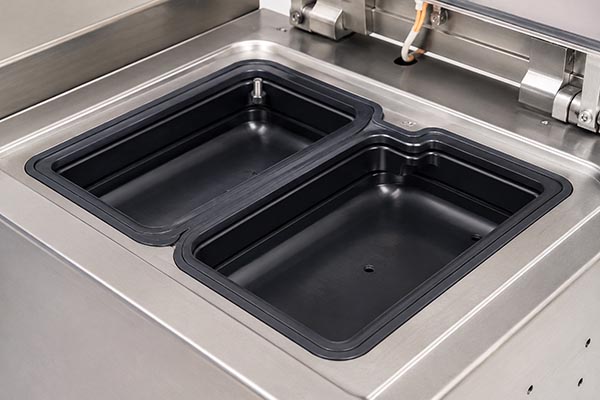
Uneven sealing on a vacuum packing machine rarely requires a service call. In our experience, over 80% of cases trace back to just two issues: a worn silicone pad or debris on the sealing surfaces. Start there.
Here’s a quick troubleshooting flowchart to follow:
Visual inspection – Look for debris, grooves, or misalignment.
Clean everything – Alcohol wipe on Teflon tape and silicone pad.
Run the carbon paper test – Confirms pressure uniformity.
Flip replace the e silicone pad – Quickest win.
Align the seal bar – Fixes most remaining mechanical issues.
Check bag quality and size – Eliminates user error.
By systematically working through these steps, you’ll restore perfect seals—consistent width, no gaps, and full vacuum retention. And when it’s time to replace consumables or upgrade your sealer, remember that starting with a well-built machine makes all the difference. Browse the full range of vacuum packing equipment and genuine spare parts to keep your production running smoothly.

GET A QUOTE

 中文
中文 English
 Français
 Español
 Português